HDR Photography
From Mike Beane's Blog
This is a test jump into HDR photography. Hopefully it develops as I learn more, but it was so interesting I just took a leap at it.
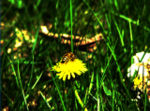
Faux HDR
- First off, I cheated at this. I took 1 picture (which wasn't really a great picture to begin with) and manually manipulated the colors to over & under expose. For the first test I wanted to see the merge results.
- The results were rich in color. I shifted between 2 exposure spaces and the latter of the two was the richest.
- Having seen the combined difference, I'll work on learning on the Powershot S3 how to manipulate the over/under exposure and see what a true light picture results with.
Flower Pot
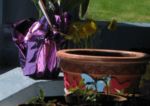
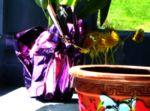
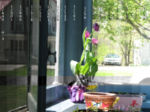
- Flower pot on Porch. I took this a few hours after the faux test. Much better
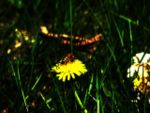
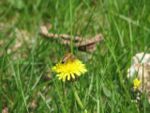
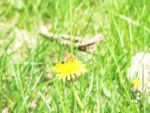
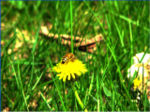
- Pictures one and two are cropped sections of the flower pot. Note the detail in the HDR version.
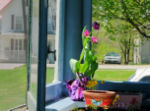
- Picture three is the full HDR picture
- Picture four is a combination of all of the exposures (marked) and a grayscale strip to show the differences.
Tower
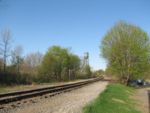
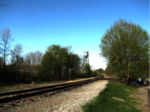
- 21 pictures ranging in exposures
- Noted that there is a need to drop overly exposed pictures (95% white) from the batch
River
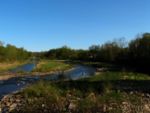
- 17 pictures ranging in exposures
| File:Hdrtest-river-original.jpg |
Dining Room Light
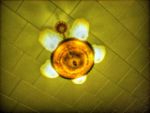
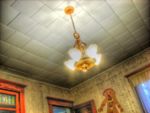
Tests usings Automatic Exposure Bracketing (AEB) on the Powershot S3 with -2/0/+2 exposure range. Subject is my dining room light. Tone mapping done via qtpfsgui with the following settings for the first image:
TMOSETTINGSVERSION=0.2
TMO=Fattal02
ALPHA=1.048
BETA=0.856
COLOR=1.33
PREGAMMA=1.485
TMOSETTINGSVERSION=0.2
TMO=Fattal02
ALPHA=0.1
BETA=0.8
COLOR=1
PREGAMMA=1
Programs
- HDR Shop - V1 is free for non-commercial
- Photomatix - The older version is free (no tone tools)
- Apparently no alignment options
- Photoshop C2 or higher
- qtpfsgui
- Artizen - Save to .hdr for use with other programs (no branding)
